It's hard not to hear all the chatter about being "eco-friendly" and "saving the earth". It's hard not to question, "does one person really make a difference?" Most of all, it's hard to adapt to this new
"environmentally friendly" lifestyle. Well, don't worry- things are easier than they seem. Whether you want to save the planet, save some money, or just save your style, I've got a fun jewellery project you can try.
Our family goes through cases and cases of water bottles a week. I mean, just me alone is like having a car-wash water vacuum in the house. We've just started recycling, but it's hard with water bottles left in (sometimes strange) various places throughout our home. The other day, as I came across a couple of water bottles in the rubbage, it got me thinking. These pieces of hollow plastic have got to be good for something. Eventually, I stumbled upon the jewellery idea. I admit, it's not everybody's cup of tea, but I have quite a bold style, and the jewellery accents my style perfectly. Plus, it's a fun little project.
***
Step One: Gather the Materials
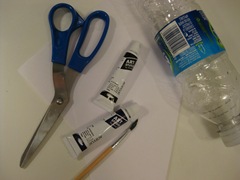 Get a water bottle (empty), a pair of scissors (unless you're Edward Scissorhands- one less thing to worry about), a medium paintbrush, piece of paper or newspaper (to cover your area), a tube of black acrylic paint and a tube of a dark color of your choice (I chose blue).
Step Two: Slice
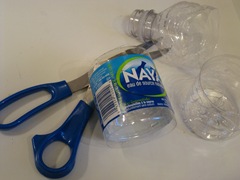
With the water bottle cap off, squish the bottle so you can wrap the scissors around it. Cut around the middle part- don't worry about neatness.
Step Three: Neat and Tidy
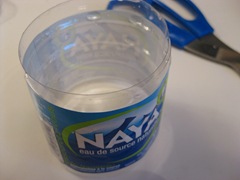
Now that you've cut out the main part, go around the edges with the scissors to smooth them out. Make sure to totally annihilate all those pesky corners and sharp edges; unless, of course, you plan on using this bracelet as a torture device.
Step Four: Roll up those sleeves
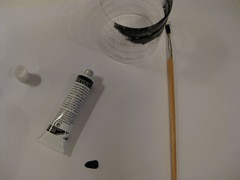
Dust off that paintbrush and stretch that painting hand. Grab the paintbrush, dip it (only a little bit!) in a small dab of the black paint, and swiftly brush it on the inside of the bottle in messy strokes. Do it lightly, so you can still see a fair amount of clear. Notice how it has a metallic, rusty look. The key is really, less is more.
Step Five: A splash of color
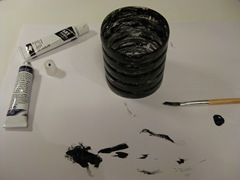
Wash your brush, dry it, and dab an even smaller amount of the color of your choice (mine is blue). Do the same as before (on the inside of the bottle), only even lighter and more scattered. Make sure some clear is still showing, but try to lightly brush the places where there's no black, as well as overlapping the black. Remember: this is only to accent it. Don't do as much as you did with the black!
Step Six: Let it Dry!
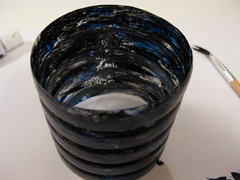
Leave your bracelet to dry- it shouldn't take long. When it's finished, hold it up to the light. It should look almost antique-ish, but with a futuristic feel (yes, I'm making this up as I go). try it on- you'd never know it used to be a 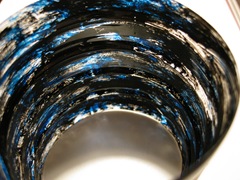 hunk of drinking plastic. Congratulations, you're now finished. Yay! You can be creative with it, too- try different things. This is only a baseline, a thing I did on a rainy day (why, yes, I do need a life). If
 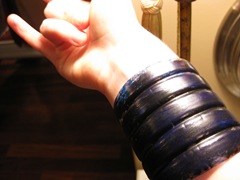 you're feeling extra risky (or lazy), you don't even have to paint it at all- I think the label looks pretty cool. Here's my "collection" of garbage jewellery:
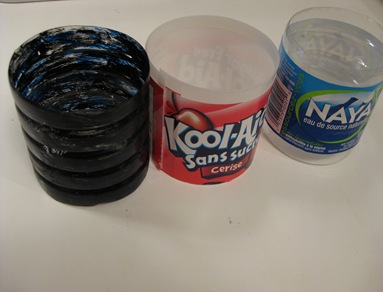
Maybe not the coolest way to spend a Sunday, but hey, why not get a little messy every once in a while? I had fun- hopefully you will too! Enjoy.
Stay Posted,
Jade-Caitlin ^^


